Video uploaded, no audio so make sure you have your notes handy!
PDF to follow soon, let me know how you get on with this video to help shape future tutorials.
Ed
Untitled from warderoid on Vimeo.
Showing posts with label RhinoCAM. Show all posts
Showing posts with label RhinoCAM. Show all posts
Wednesday, 26 October 2011
Thursday, 29 September 2011
Paneling tools
Elo!
Had some fun with the paneling tools plug it - without getting overly fancy, using a custom paneling grid on a surface - I was able to create an interesting surface pattern on 12mm ply!

A simple surface just over 200mm square, rebuilt with 6 u and v points, slightly edited to give depression and curvature.
The paneling grid was set to 15 in both U and V, for a rather densely populated surface, the custom shape was a simple paraboloid.
I opted for ply as it will illustrate the contours more so than acrylic would.


Thanks for looking :)
Wednesday, 7 July 2010
Bartlet Architecture Final Show UCL
Walking from Waterloo to UCL took just over an hour - but we got to see alot of London's back streets that would have been missed if we took the tube. The day was hot despite staring out with rain, and not taking the most direct rout at times just made things worse. Anyway - by 2:30 we had made it, and the courtyard of UCL was a little sancuary in the middle of hell that was london, quiet and calm, we were met with this.

In the right place then.
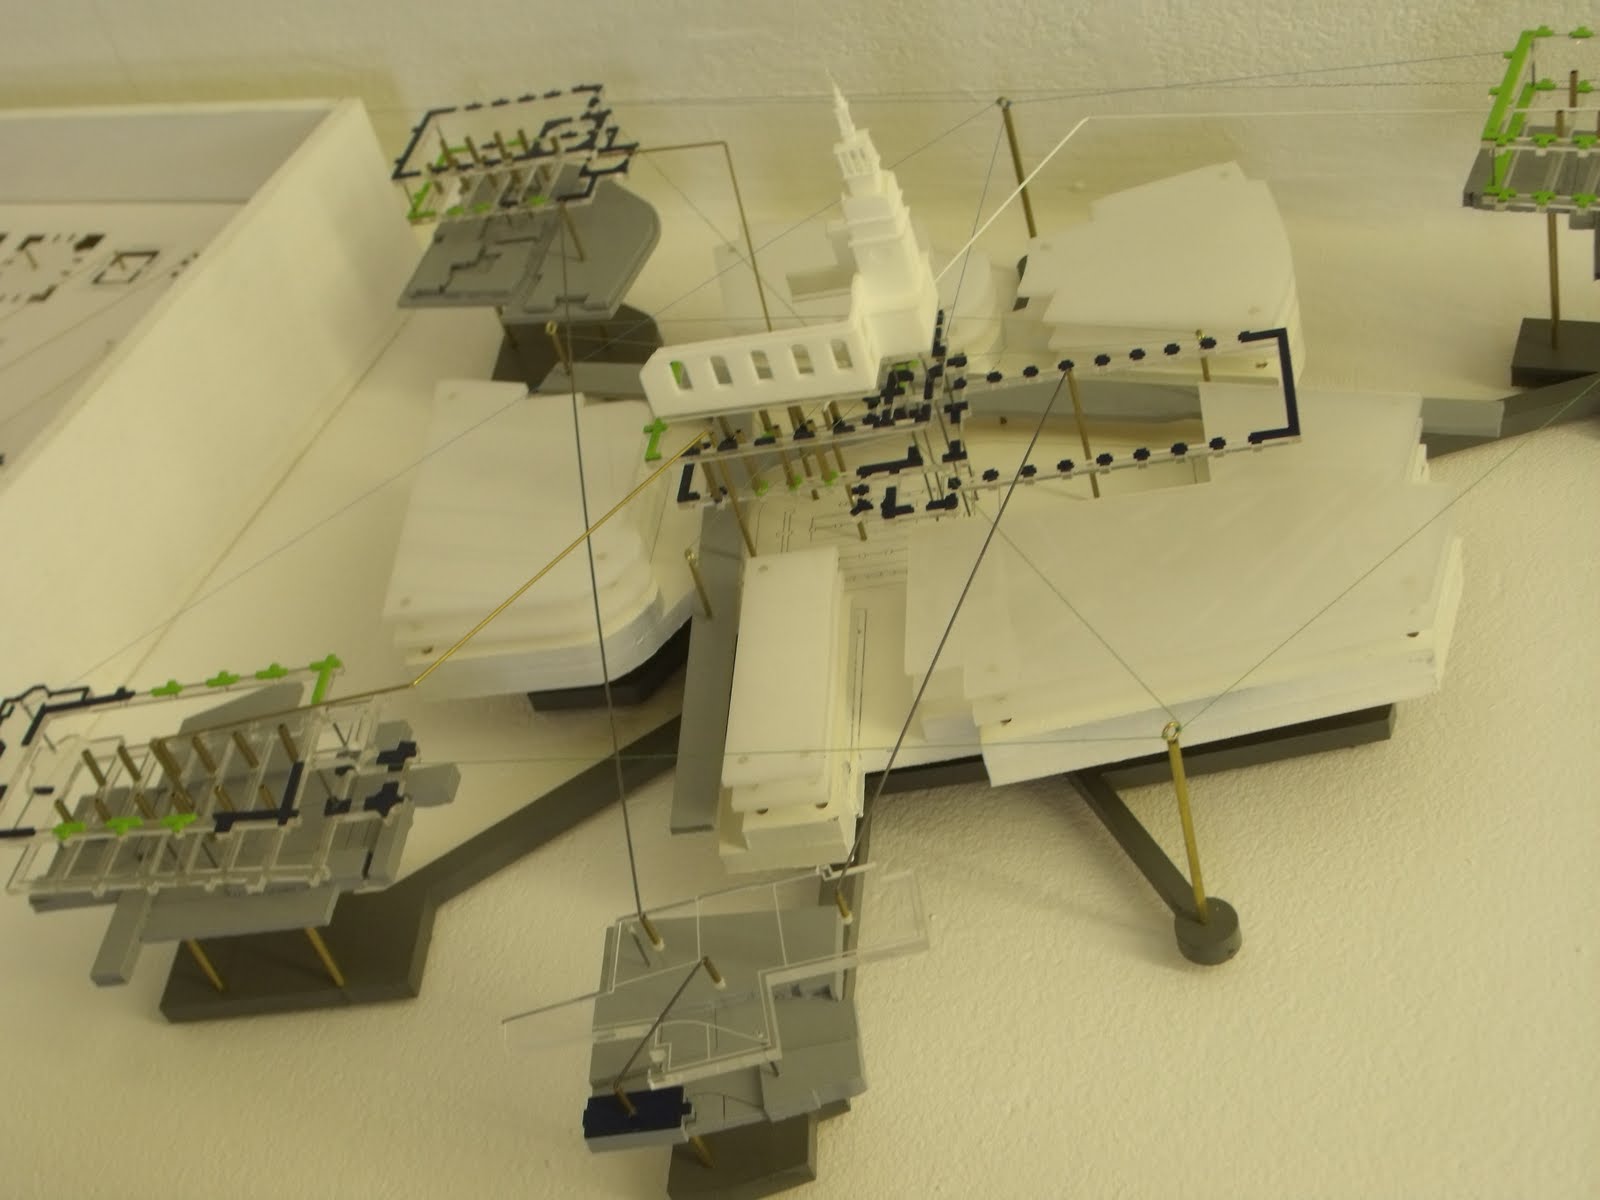
The show was pretty large accutally, spanning several rooms with a range of work in each. Models were everywhere which was a plus for me - and they were getting alot of attention from everyone else in the gallery.


To go with the countless models were collections of artwork which as an outsider I coulnt see the relevence to an Architecture degree show but they were stunning none the less - very sci fi.


The models on show had a range of technologies applied to them - predominently Dprinted with elements of lasercut acrylic. I spoke toone of the students on hand and asked about the software used to create such generative forms. They all get introductions into Rhino, Solidworks, Studio MAX - even google sketchup is used extensivly. He also explained that they build several models digitally - some for specification and also some specifically for the use of prototyping technologies. All models are brought and payed for at a little above cost.


Overall the day was great and well worth the treck accross London town to get there! The level of work - and the quality and extensiveness of the 3D prints was a great thing to witness!! Some of the aplications were questionable, such as a printed landform, but over all the applications were very generative and testament to their skills on CAD. Some of the details were very fine and bridging[from my persective] the gap between technology and art.

In the right place then.
The show was pretty large accutally, spanning several rooms with a range of work in each. Models were everywhere which was a plus for me - and they were getting alot of attention from everyone else in the gallery.


To go with the countless models were collections of artwork which as an outsider I coulnt see the relevence to an Architecture degree show but they were stunning none the less - very sci fi.


The models on show had a range of technologies applied to them - predominently Dprinted with elements of lasercut acrylic. I spoke toone of the students on hand and asked about the software used to create such generative forms. They all get introductions into Rhino, Solidworks, Studio MAX - even google sketchup is used extensivly. He also explained that they build several models digitally - some for specification and also some specifically for the use of prototyping technologies. All models are brought and payed for at a little above cost.


Overall the day was great and well worth the treck accross London town to get there! The level of work - and the quality and extensiveness of the 3D prints was a great thing to witness!! Some of the aplications were questionable, such as a printed landform, but over all the applications were very generative and testament to their skills on CAD. Some of the details were very fine and bridging[from my persective] the gap between technology and art.
Tuesday, 25 May 2010
Rhino CAM
Our pre dawn of existance CAM application is about 50% good - it is very unforgving on even the most well built CAD models.
Anyway - I delved into Rhino CAM - a plug in for Rhino 4 and offer a free demo on their webiste. I fed it a file that has been causing Excalibur to stall for around 33 hours only to let us down again and again and crash. To my suprise it took about 30 seconds for Rhino CAM to spit out a tool path - i'll bee damned.
Unfortuantely without the right post processor its unusabable on our machine. Maybe I can faf with the Post output settings but who wants to do that on a sunny day?
Anyway, have a couple of images to feast your eyes on!

Horizonal roughing - tool path generated very quickly - but i'm sure there must be a way to select a more material friendly region...

Horizontal finishing if I remember correctly. pretty fine stepover of only 10% of tool - all the stages are pretty strait forward.

And lastly, the output G code.
Digital Terrain Modeling
Using Digimap and Rhino 3D, Bournemouth Chine was milled from Birch ply.

and

and

The model is used as reference for Nathen's 3rd year BA Hons Architecture project, the rejuvination of a bridge.

and

and

The model is used as reference for Nathen's 3rd year BA Hons Architecture project, the rejuvination of a bridge.
Two sided milling appears to be working!
My forray into milling two sides of the same model seems to be paying off - whilst learning all the way.
Some say i'm messing about making my own model but.. well ok maybe i am.
Here's a pic to show the progress...

Mde from only 3 peices!
Some say i'm messing about making my own model but.. well ok maybe i am.
Here's a pic to show the progress...

Mde from only 3 peices!
Subscribe to:
Posts (Atom)